Create a PCB Project
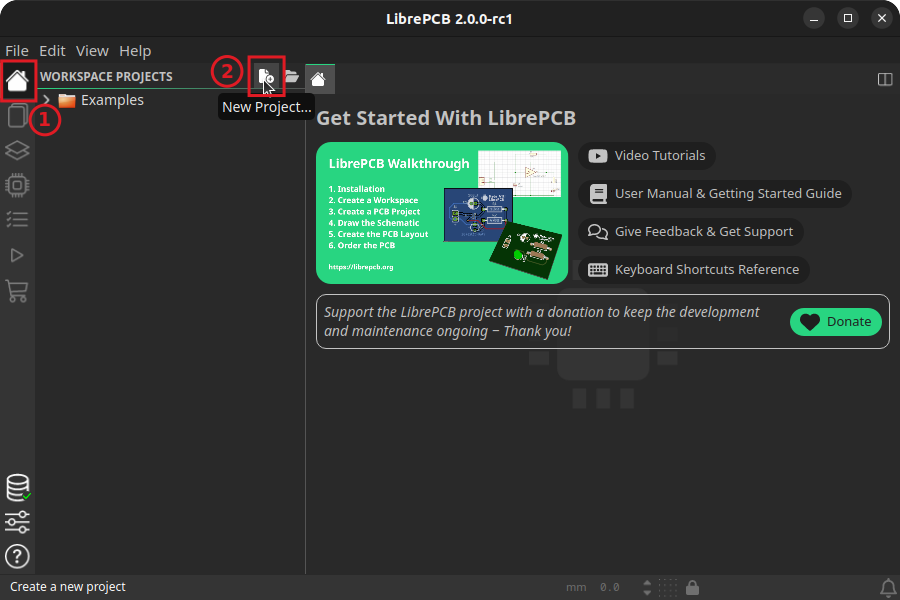
In LibrePCB, schematics and boards are always part of a project, so before creating schematics and boards you first need to create a project for every PCB. Click on New Project in the Home panel:
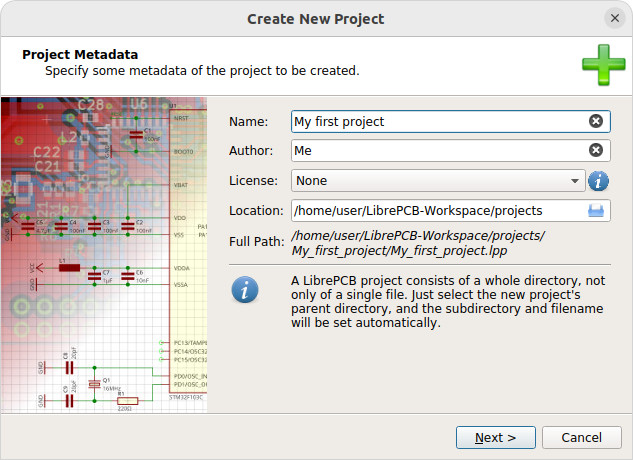
Then specify some project metadata:
|
It’s recommended to store projects within the workspace subdirectory
named |
|
A LibrePCB project consists of a whole directory on the file system. While it is possible to manually add/modify files in that directory, generally you should avoid adding large files (e.g. datasheets) since this could slow down some operations. It’s better to store unrelated files outside of the project directory. |
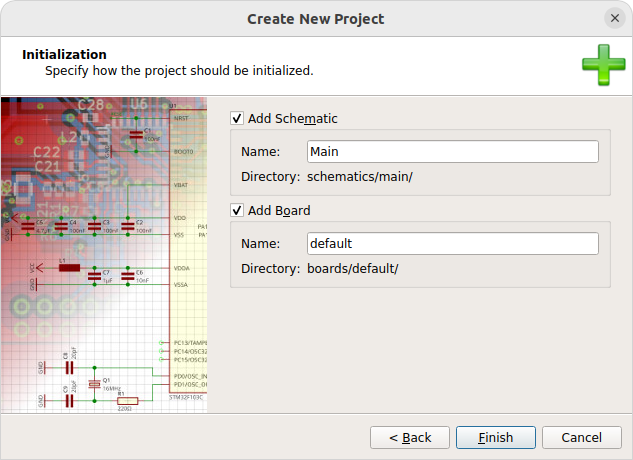
Now you can choose whether the project should be initialized with a first schematic page and board, and how they are named. If you are unsure, just accept the default values:
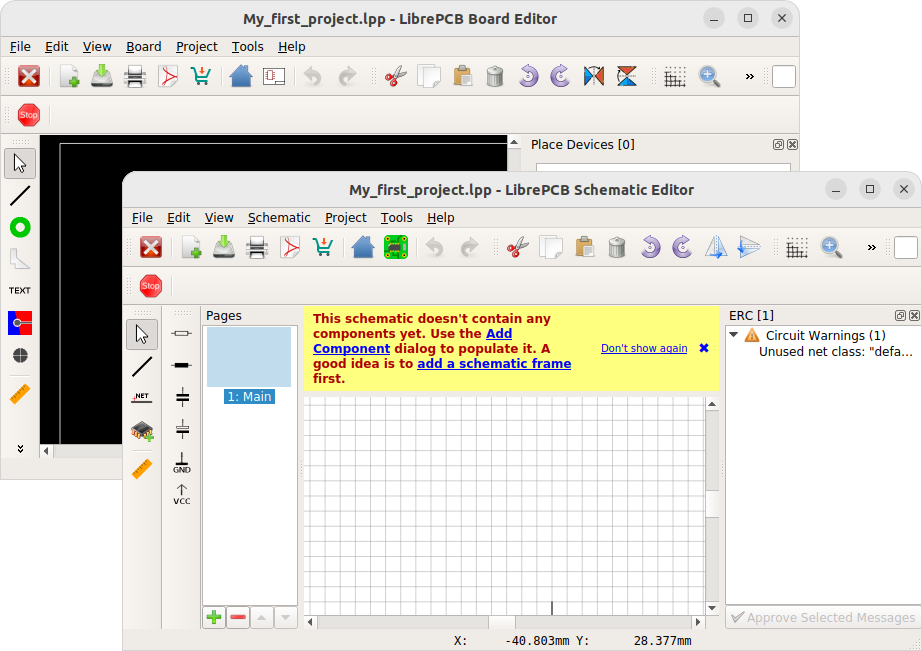
After clicking on Finish, the project is opened in the Open Documents panel and the schematic editor shows up: